Publish on by Kingdom Cute Luxury Hair Salon
- What fully dry hair can realistically do
- Choose tools for a soft bend, not tight curls
- Prep without rewetting your hair
- How to wrap and set your hair
- 1. Divide the hair into manageable sections
- 2. Lift the crown before rolling
- 3. Wrap the sides and back for rounded ends
- 4. Give the set time, without promising a fixed result
- 5. Unroll instead of pulling
- Adjust the method to your hair and haircut
- Fine or very straight hair
- Thick, curly or coily hair
- Short hair and layered cuts
- Troubleshoot the result before changing everything
- Check the finish for photos or events
- Frequently asked questions
- Find a shape that works with your hair
A heatless blowout on fully dry hair can give you lifted roots, rounded ends and soft movement without plugging in a styling tool. The key is to use large rollers to encourage a gentle bend, not expect them to straighten every texture. Start with dry, detangled hair, wrap manageable sections with very light tension and give the shape time to settle. Your starting texture and haircut will determine how close the finish looks to a salon blowout.
What fully dry hair can realistically do #
Dry hair does not reshape as readily as hair that dries around a roller. Without adding moisture or heat, you are encouraging movement rather than completely resetting the hair’s pattern. Expect softer results, especially on straight hair that resists holding a curl.
If your hair is already smooth, stretched or carrying yesterday’s blowout, rollers can refresh its silhouette. On naturally curly or coily hair, the same technique may reposition curls or stretch the ends slightly, but it will not reliably create a straight, brushed-out finish.
Heatless does not mean tension-free. Tight wrapping, snagging rollers and uncomfortable clips can still cause problems. A useful set should feel secure without pulling at your scalp.
If you are unsure which finish suits your texture, understanding how to choose a blowout for your hair type can help you set a realistic goal before choosing tools.
Choose tools for a soft bend, not tight curls #
For a heatless blowout, the roller’s size matters more than how many accessories come in the package. A larger barrel generally encourages a broader curve, provided your hair is long enough to wrap around it.
| Tool | Best use | Main limitation |
|---|---|---|
| Large smooth-surface rollers with clips | Rounded ends and controlled placement | Rigid rollers can be uncomfortable to sleep in |
| Large self-grip rollers | Daytime volume on smooth hair that releases easily | The gripping surface can snag fragile or textured strands |
| Wide, cushioned flexible rods | A softer option for an overnight trial | Wrapping too tightly can create curls rather than blowout-like bends |
| Long satin-covered curling rod | Loose movement through longer lengths | Usually gives less precise crown lift than individual rollers |
Choose the largest barrel that still lets the section wrap securely around it. A roller that your ends barely reach will not give you much control. Short layers usually need smaller rollers than long lengths, even when the desired result is loose.
Also have a detangling tool, sectioning clips and clips that secure the rollers without pressing into your scalp. You do not need a large collection of styling products.
Prep without rewetting your hair #
The most useful preparation for a heatless blowout is smooth, manageable hair that already feels completely dry. Check the roots, nape and dense areas rather than judging only by the ends.
Detangle from the ends upward while supporting each section. If brushing disrupts your natural curl pattern, use your usual gentle detangling method and accept that the finished look will retain more texture.
Skip water mist, damp mousse and wet setting lotion for this method. Those turn it into a damp set, with different drying requirements and results. Heavy oils and rich creams can also weigh down the volume you are trying to create.
If you use flexible-hold hairspray, apply a light amount according to its directions and let the hair feel fully dry again before wrapping. Product is optional, especially for a first attempt when you are learning how your hair responds.
How to wrap and set your hair #
1. Divide the hair into manageable sections #
Create a top panel running from your forehead toward the crown, then separate the sides and back. Work with sections no wider than the usable length of each roller.
Thickness matters, too. A bulky section is harder to wrap smoothly and may leave inner strands almost unchanged. If the hair spills over the ends of the roller or bunches into a rope, divide it again.
Place clips where you can reach them easily. Handling an unsecured roller while searching for a clip often leads to extra pulling.
2. Lift the crown before rolling #
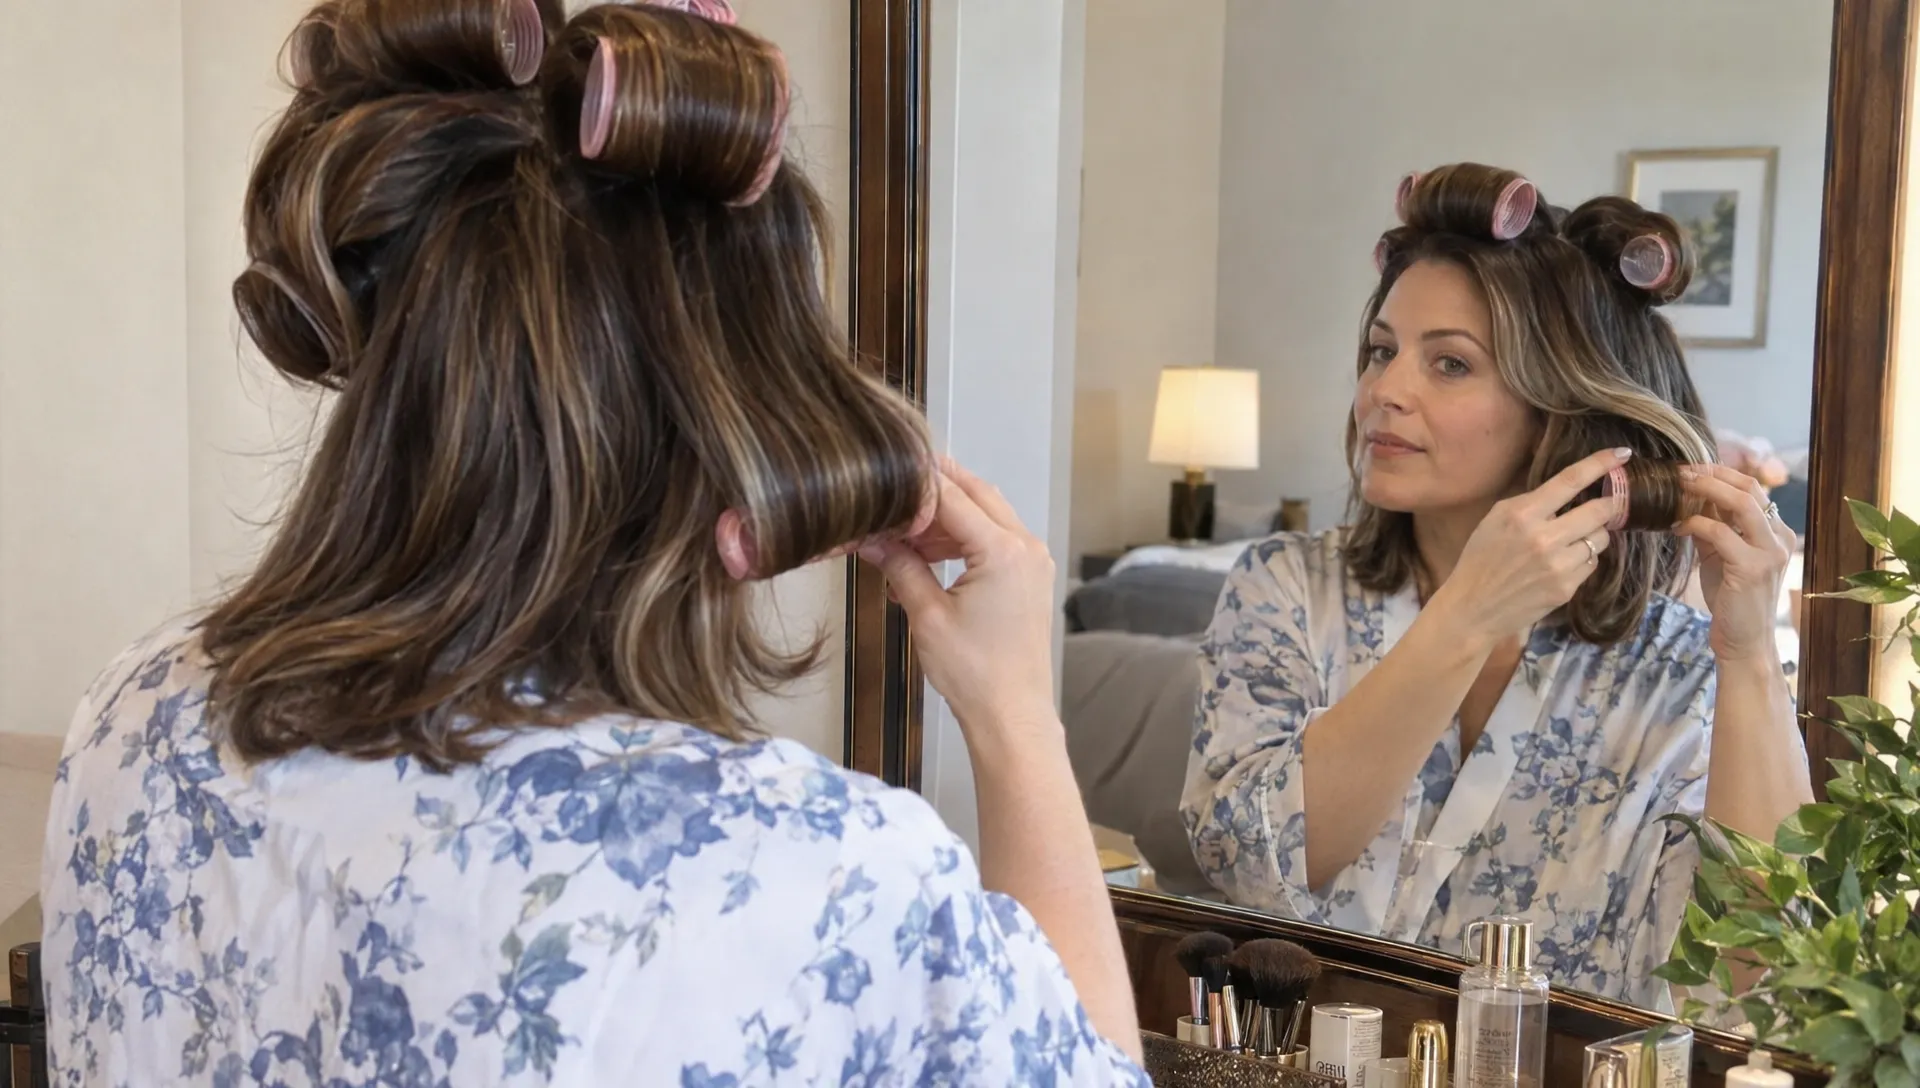
For crown volume in a heatless blowout, lift the top section upward rather than pulling it flat against your head. Smooth it gently, position the ends on the roller and roll back, away from your face, toward the scalp.
Keep the ends lying flat against the barrel. Folded tips can leave a hooked or crimped finish that is difficult to disguise without restyling.
Secure the roller close enough to support the roots, but do not tighten it until your scalp moves. If the clip creates a pressure point, reposition it immediately. More tension is not a reliable route to more lift.
3. Wrap the sides and back for rounded ends #
On the sides, guide face-framing sections away from your face for an open shape. For a classic rounded finish, keep the ends curved under as you roll toward the scalp.
Work through the back in sections you can control comfortably. Use a mirror if needed rather than pulling blindly or winding neighboring strands into the same roller.
Avoid twisting each section before wrapping. A rope-like wrap encourages a spiral, while a flat ribbon of hair encourages a broader bend. Keep shorter layers aligned as well as possible, without forcing every loose strand into the set.
4. Give the set time, without promising a fixed result #
Treat an hour or two as a first trial for a daytime heatless blowout, not a guaranteed setting time. Dry hair varies considerably in how readily it takes and keeps a new shape.
Test one section before removing everything. Unwind it carefully, let it hang and see whether the curve remains. If it drops immediately, more time may help, but a fully dry set may simply have limited hold on your hair.
For overnight wear, use soft tools that do not create pressure when you lie down. Do not sleep in rigid rollers or clips that hurt. Remove or loosen any section that pulls, even if that means leaving part of the style unset.
5. Unroll instead of pulling #
Remove each clip, support the section and unwind the roller along the same path you used to wrap it. Pulling a roller straight through the hair can create tangles and disturb the shape.
Let the released sections settle before touching them repeatedly. Then use your fingers to blend them. If the result is curlier than you wanted, try one gentle pass with a brush through the lengths, provided brushing suits your texture.
Finish with a light application of flexible-hold hairspray if needed. Keep heavy shine products away from the roots. For aftercare beyond this initial set, use these tips on making a blowout last longer without heat damage.
Adjust the method to your hair and haircut #
Fine or very straight hair #
A heatless blowout may look airy initially but relax quickly on fine or very straight hair. Keep products light and use sections small enough to wrap evenly. If the largest rollers leave no visible bend, try the next size down rather than tightening the wrap.
A shorter daytime test is useful before committing to an overnight routine. Photograph the result immediately and again later so you can judge whether the method is worth repeating.
Thick, curly or coily hair #
Use more sections instead of adding tension. Thick sections can look smooth on the outside while retaining a different shape underneath.
If your hair has already been stretched or professionally styled, rollers may help refresh that existing shape. If heat was used earlier, describe this accurately as a no-additional-heat refresh, not heat-free straightening. Starting from unstretched curls will give a different result, and that is not a technique failure.
Short hair and layered cuts #
Match each roller to the length of the section, not just the overall haircut. Short face-framing pieces may need a smaller barrel, while longer back sections can use larger ones. Do not tug short layers to make them reach.
Troubleshoot the result before changing everything #
Change one variable at a time. Otherwise, it is difficult to know whether the difference came from roller size, section thickness, product or wrapping direction.
| What happened | Likely issue | What to try next |
|---|---|---|
| Almost no bend | Barrel too large, section too thick or limited dry-set hold | Test a slightly smaller roller on a thinner section |
| Tight curls instead of body | Small barrel or twisted wrapping | Use a larger barrel and keep the section flat |
| Bent or hooked ends | Tips folded against the roller | Smooth and align the ends before the first turn |
| Flat roots with curved lengths | Sections pulled downward during wrapping | Lift the crown sections before rolling |
| Snagging or scalp discomfort | Gripping surface, trapped strands or excess tension | Stop, unwind carefully and change the tool or placement |
A successful heatless blowout should be comfortable enough to repeat. If your best result requires pulling tightly or tolerating painful clips, choose a different setup rather than pushing through.
Check the finish for photos or events #
Before leaving, look at the back as well as the front. Blend visible section lines with your fingers and check that the crown is balanced rather than chasing perfect symmetry.
For business-owner portraits outside a shop, consider the background too. Keep custom storefront signage legible and position yourself so the lettering does not visually intersect with your hair. A quick test photo can reveal both a flattened section and a distracting backdrop before the actual shoot.
Frequently asked questions #
Can you really get a heatless blowout on completely dry hair? Yes, some hair responds with soft bends, refreshed ends and extra body. Results are usually subtler than a damp set or heated blow-dry, and the method does not reliably straighten tight curls.
Do I have to leave the rollers in overnight? No. A daytime trial can show whether your hair responds before you commit to sleeping in a set. Overnight wear is an option only when the tools and placement are comfortable.
Are blowout rods better than rollers? Neither is universally better. Wide, cushioned rods may be more comfortable for sleep, while individual rollers offer more control over crown placement. Narrow rods and twisted sections tend to produce more curl than broad movement.
What are the downsides of heatless styling? Results can be inconsistent, the process takes time and some tools snag or create pressure. Avoid tight wrapping, unwind carefully and stop if your scalp hurts.
Should I add water if the style will not hold? Not for this fully dry method. Adding water creates a damp set and changes the process. First try a smaller roller or thinner section, then decide whether a different styling method better suits your goal.
Find a shape that works with your hair #
Start with a few sections before attempting a full head. That small test can tell you whether you need different rollers or simply a more modest expectation of the finish.
For help choosing a haircut, smoothing approach or salon style that supports your routine, explore Kingdom Cute in Warner Robins, GA. A personalized consultation can help you match your preferred look to your texture and the time you want to spend styling at home.
Tags: heatless blowout